| Here is a picture of the old rear bumper; broken and worn. Just like the front bumper, it needed replaced. I installed the rear bumper first because the front bumper has a lot more curves than the rear and I expect it to be a bit more difficult to fit. | 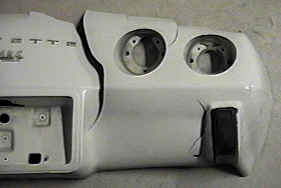 |
| Everything I've read and have been told warned me that installing fiberglass bumpers would take a bit of work. When they were delivered I found what I had heard was true. But I am sure the end will justify the means. I've started on the rear bumper first because it's a simpler project than the front. |  |
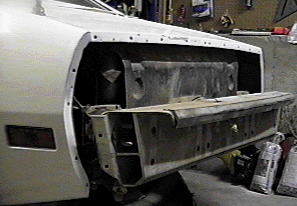
| The rear end of the car looks a bit naked
now. I had to remove a lot of hardware to fit the glass
bumper. There was surprisingly a lot of hardware behind
the rubber bumper used to hold it in shape. You can see some primer on the left rear panel. I had to put some filler on that part of the body because when the car was built, the manufacture didn't do a very good job shaping the car. |
 |
| Painting was a joy of course. Like the front bumper, we kept the floor wet and used a good sealer and degreaser before painting. | 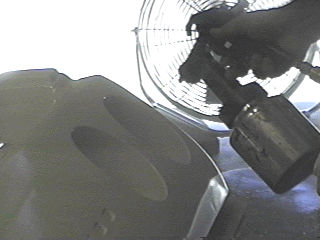 |
| The almost finished product. After letting the paint harden for a few weeks, I am going to paint the bumper pads black. | 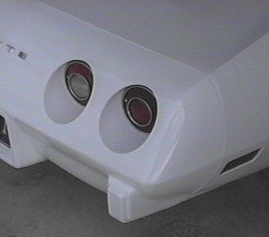 |