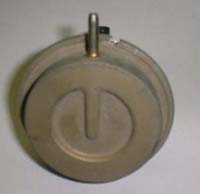
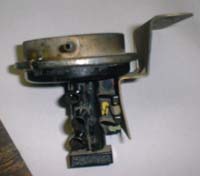
| After removing the headlamp relay, make a cut with a Dremel on the band encircling the top of the relay, as pictured. Remove the ring and set it aside. Be cautious when making the cut because you are going to reuse the ring during reassembly later. |
|
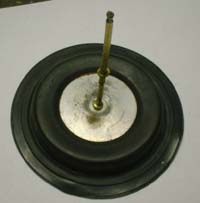
| Remove the top of the assembly and spring and pull the diaphragm from the rest of the relay body. | 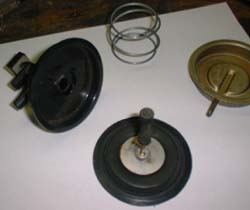 |
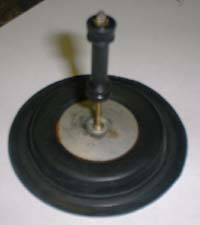
| Use a pair of pliers or cutters to flatten the crimp on the shaft
of the diaphragm assembly. Remove the washer and put it in a
safe place and then remove the bushing. Now that you have everything apart, clean all the parts. I used rubbing alcohol. Brake cleaner does a nice job at removing grease and oil as well. Inspect the diaphragm for tears and dry rot. |
|
| Now for the most important part. I've read of several ways
of bringing a relay back to life without spending $80 on a new
one. My method involves using a rubber revitalizer. I used
Rawn Re-Grip www.rawnamerica.com,
but similar products exist. A bottle runs for around $5 at any
electronics supply store or you can find it online.
The rubber revitalizer restores the elasticity and shape of the rubber.
Soak the bushing in it for about an hour. I also massaged the
bushing during this period to help work the chemical into the
rubber. If you cannot get your hands on rubber revitalizer, try using brake fluid. Please keep in mind that I have not tested this method, so I don't know how well it will work. |
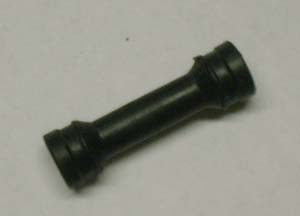 |
| Reassemble the diaphragm assembly. Don't forget to crimp the shaft after you put the washer back in place. |
|
| Apply petroleum jelly to the bushing and reassemble the relay. | |
| The hardest part of the whole project in my opinion is putting the ring you cut off back in place. You have to work it until it's evenly fit around the top of the relay. I fastened it in place with soldier. |
|
| Now the test. Attach a hand held vacuum pump to the large center port and apply about 20 HG of vacuum while blocking the red port. It should hold vacuum. If it works, you are done. | |
