Valve Stem Seal Replacement


When starting the engine after the car had set for a while, I noticed blue smoke coming from the exhaust, classic symptoms of bad valve stem seals.  To do this project you will need basic tools, a valve spring compressor and a air compressor spark plug fitting.


Remove the rocker covers and any engine components to allow easy access to the rockers.   I removed the air pump and pushed the AC compressor as far out of the way as possible.
Remove the nuts holding the rockers, rockers and pushrods.  Store the components using a method that will allow you to  remember exactly which parts go where, as described below. 
Apply air pressure to the cylinder you are working on using an air compressor spark plug adapter.  It is critical air pressure is maintained once the springs are removed or the valves will fall into the cylinder. 

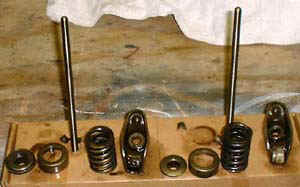
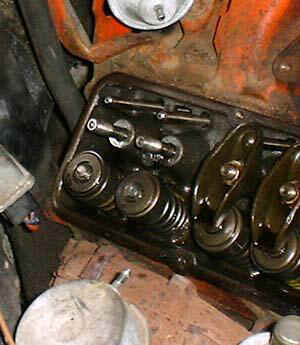
Compress the valve springs and remove the valve spring keepers.  To remove the springs, gently tap on the side of the springs until they come free.  Use your free hand to shield the spring to prevent the spring and components from flying across the room when they release.

Once you remove the springs, you can wrap a rubber band around each valve stem to hold it in place and remove the air pressure from the cylinder if you desire.

After removing all the components, store them in a fashion to prevent them from getting mixed up.  Ensure you take note as to which end is up on the push rods.  I performed this procedure on one cylinder at a time and stored the parts on a cardboard box marked to prevent intermingling.  This would be a good time to check the components for excessive wear.  Check the springs for square and free length. 
Remove the old seals.  The stock seals are small o-ring types that fit in a grove around the valve stem.  Mine were brittle and had to be broken to remove them.  Once the seals are removed, clean the value stems with a rag to remove any debris. 
I decided to install umbrella stem seals in place of the o-ring type.
Dip the umbrella seals in clean oil and slide them over the valve stems.
Apply grease to each piece of the keepers to help hold them in place when reinstalling.  Apply grease to each end of the push rods and to the top of the valve stems.  Ensure you reinstall the push rods as you removed them. 
Install the rockers.  
Once the valve stem seals are replaced on all cylinders adjust the valve lash.
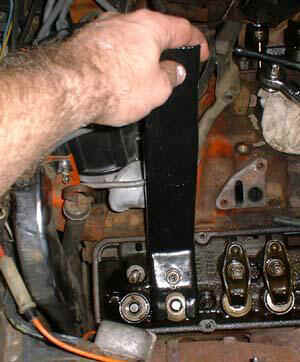
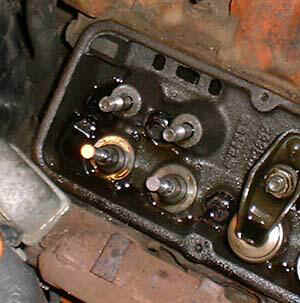
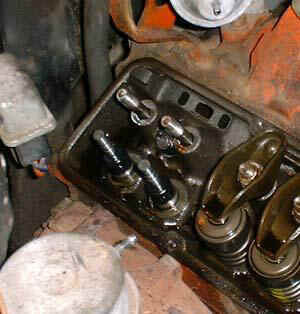
  1. Bring the #1 cylinder to top dead center on the compression stroke by turning the crank clockwise until the line on damper is aligned with the 0 on the timing plate. Verify the position by removing the distributor cap and verifying the rotor is pointing to cylinder #1. If it isn't, then turn the crank 360 degrees.
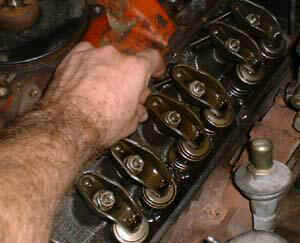
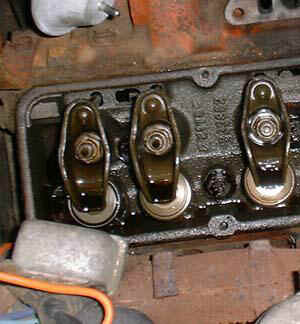
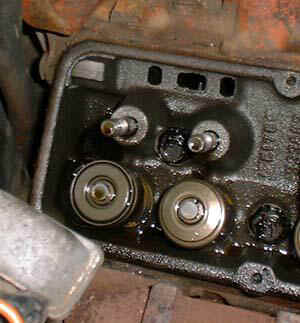
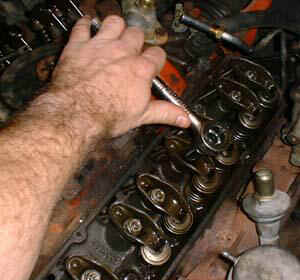
  2. Tighten the rocker arm nut until all lash is removed. 
  3. To check the valve lash, rotate the pushrod with your fingers.  When the valve lash is removed, you will feel a slight drag while turning the push rod. 
  4. Turn each rocker nut 360 degrees once all valve lash is removed. 
  5. Perform the procedure on the next cylinder.  Turn the crank 90 degrees and repeat the procedures above substituting the next cylinder in the firing order:  1-8-4-3-6-5-7-2
Install the rocker covers using new gaskets and a quality gasket sealant.